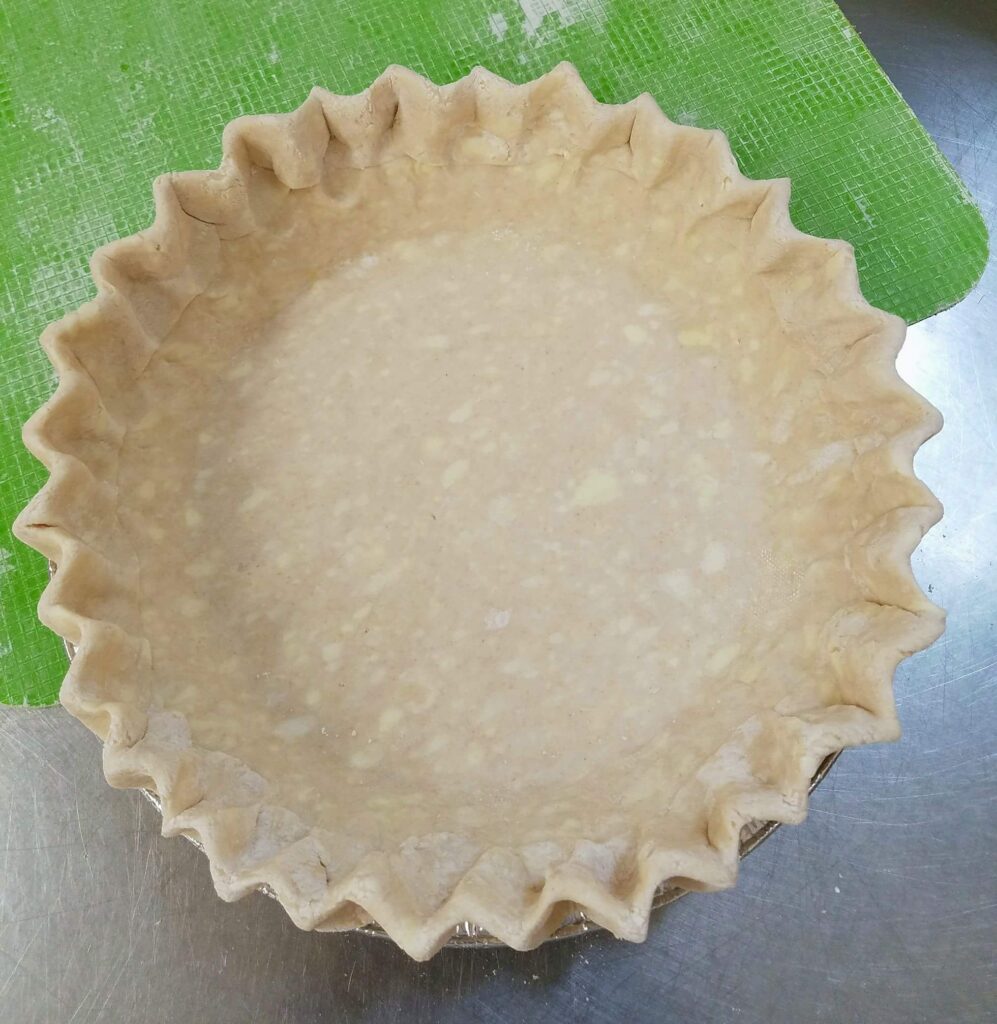
This is one of those crusts you never have to worry about. Keep the butter and water cold, handle lightly, and you will get a wonderful crust every time.
I find that the vinegar leaves the barest hint of flavor in the baked crust. Depending on the type of vinegar that you use, you can enhance the flavor profile of the baked dish that you’re planning. For instance, apple cider vinegar has a deeper flavor that makes it perfect for quiches, pot pies and other savory fillings. Plain white vinegar is almost tasteless but does its job to help make the finished crust flaky yet delicate.
What I like about this crust is that it bakes up delicious, flaky and tender every time.
Flakiest Pie Crust
Tender, flaky pie crust every time!

Ingredients
Instructions
-
Stir flour, sugar and salt together in a large bowl.
-
In a small bowl, beat the egg with the water and vinegar. Whisk together to mix as completely as possible. Set aside to prep the butter and flour mixture (next)
-
Cut butter into the flour mixture.
If you're using a pastry blender, cut the butter into the flour mixture until the butter is about the size of small peas.If you're using a food processor, pulse until the butter is the size of small peas.
If using the hand method, flatten each butter piece between your fingers. Toss with flour mixture.
Spoon into a large bowl.
-
Add half the liquid to the flour/butter mixture.
Using a fork, lightly blend together.
Add remaining liquid, a little at a time, blending all ingredients with a light hand until evenly moistened.You may not need to use all of the liquid! Your dough should not be wet. Your dough should barely come together, even with a few dry spots.
-
Divide dough into three equal mounds then turn each dough mound out onto a large piece of plastic wrap. Press together firmly to remove air pockets. At this point the dough should be able to come together without being sticky. If it feels a little dry, that's ok. The dough will soak up moisture produced by the butter, plus any remaining moisture from the liquid, as it rests. If the dough feels very sticky, gently add more flour, a tablespoon at a time.
-
Flatten each piece of dough into a disk and wrap tightly in plastic wrap.
-
Refrigerate dough for at least 1/2 hour, or overnight.
-
Roll out 1 piece of dough (for a 10-inch crust) on a lightly floured surface, handling as little as possible. If a little more water is needed, sprinkle it lightly onto any too-dry spots. (Be stingy!)
Place into pie dish and trim, leaving about 1/2" overhang for crimping.
TIP: Keep the trimmed dough! It's great for creative crust decorations or crust cookies and you'll feel good for not wasting a bit of it.
-
Remaining dough can be frozen for up to 2 months. Just let it thaw in the refrigerator overnight before using.


GREAT!! This is so exciting. We have loved your pies for years. In fact your pies were served at our daughter’s wedding. I have posted a new, preferred email.
Donna, it’s so great to meet you here. Your daughter’s wedding was a highlight for us even now. We’ll record your preferred email and hope you find the site useful and enlightening and delicious! Best wishes!