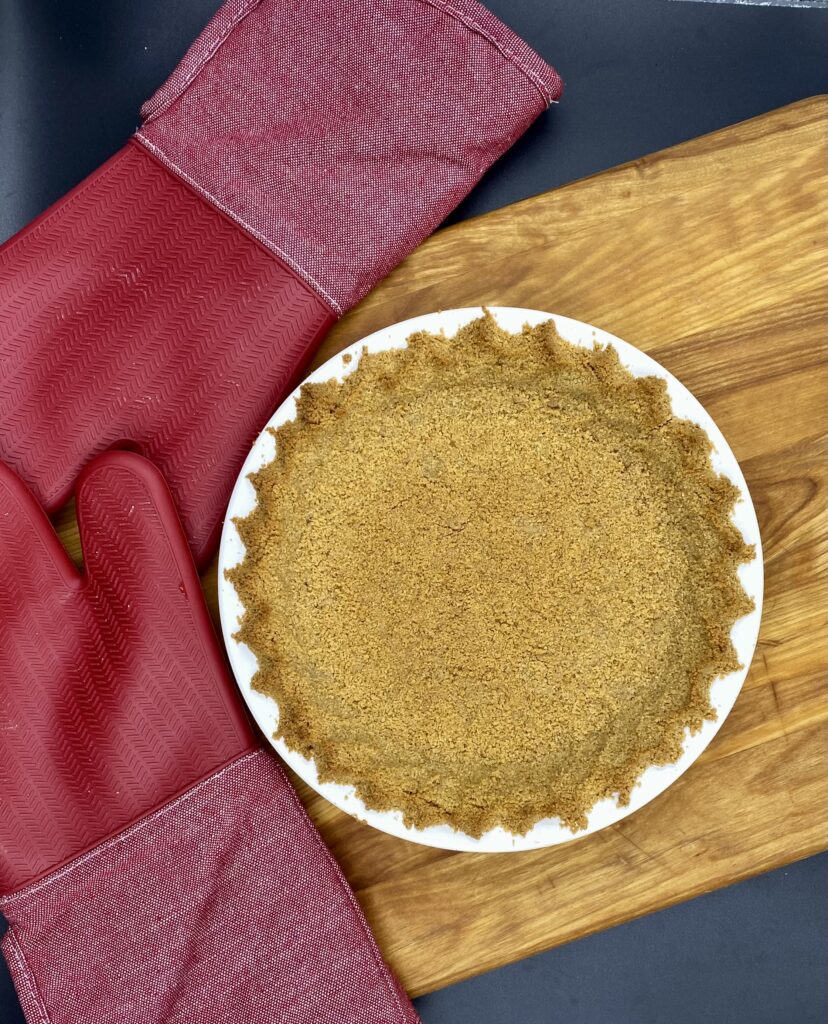
Graham Cracker crusts are a very easy way to upgrade your summer pies. Sure, you can buy a premade graham cracker crust. But it’s so easy to make your own – and it tastes significantly better. You can even freeze an extra crust for later!
The recipe tells you to use a food processor. But with a little elbow grease you can use a plastic baggie and rolling pin. That’s how your grandma did it and it works just fine. Either way, just make sure you don’t leave chunks of graham cracker by the time you add the melted butter.
Notes and Tips:
- I like to use Confectioners Sugar because it melts faster. You can also try subbing in a little brown sugar for a deeper crust flavor. Another way to add a deeper flavor is to let the butter brown, just a little.
- The crease where the sides meet the bottom of the pie pan is important for the integrity of each slice. You don’t want it too thick because that would leave less room for the filling. But you want it to be strong enough to support the back of the slice. So don’t skimp on the creases but do press them in firmly.
- You can use these ingredient proportions for any other dry, single thickness cookies. Try other flavors of graham crackers, ginger snaps, even digestive biscuits for variety.
- This is the crust that I use for my special Key Lime Pie!
Graham Cracker Crust

Ingredients
Instructions
-
Pulverize the graham crackers and the confectioners sugar in a food processor until very fine. Pour into a medium size bowl.
-
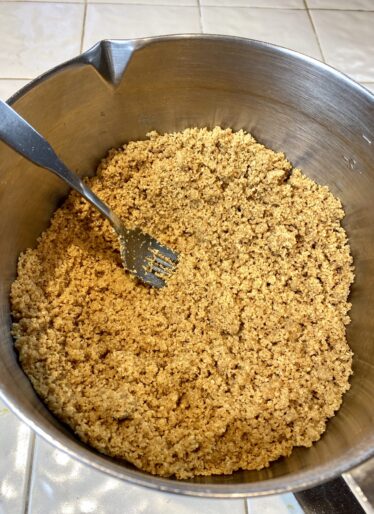
Pour melted butter over crumb mixture and stir with a fork until crumbs are completely moistened.
-
Spoon all of the crust mixture into a pie pan.
-
Leaving about 1/3 of the mixture in the center of the pie pan, spread the remainder of the crumbs around the sides.
-
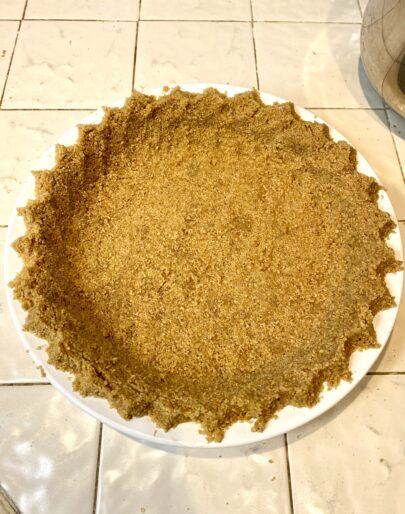
Even out the thickness of the crumbs around the sides, paying special attention to the creases where the bottom of the crust will meet the sides. Press the sides of the crust firmly into the pan.
-
Now spread the bottom crust of the pan. Spread this crust smoothly and evenly, meeting the side crust at the creases. You can use your fingers, the smooth bottom of a measuring cup or glass or even a solid pancake turner. Tamp the bottom crust down firmly throughout.
Don’t worry if your crust is not perfectly smooth, filling is going on top of it; you just want to make sure there is enough crust under each slice! -
If desired, go back around the sides of the crust, pressing firmly and forming the edges.
-
Bake at 350°F for 5-10 minutes or until edges just begin to brown.
-
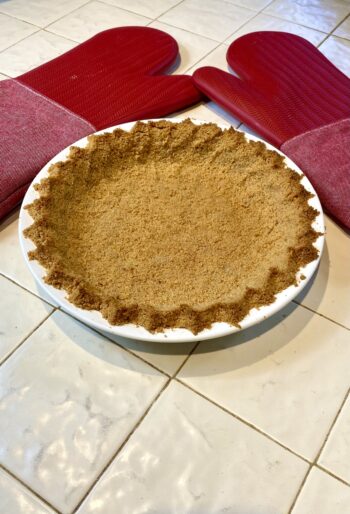
Remove from oven and let cool.


