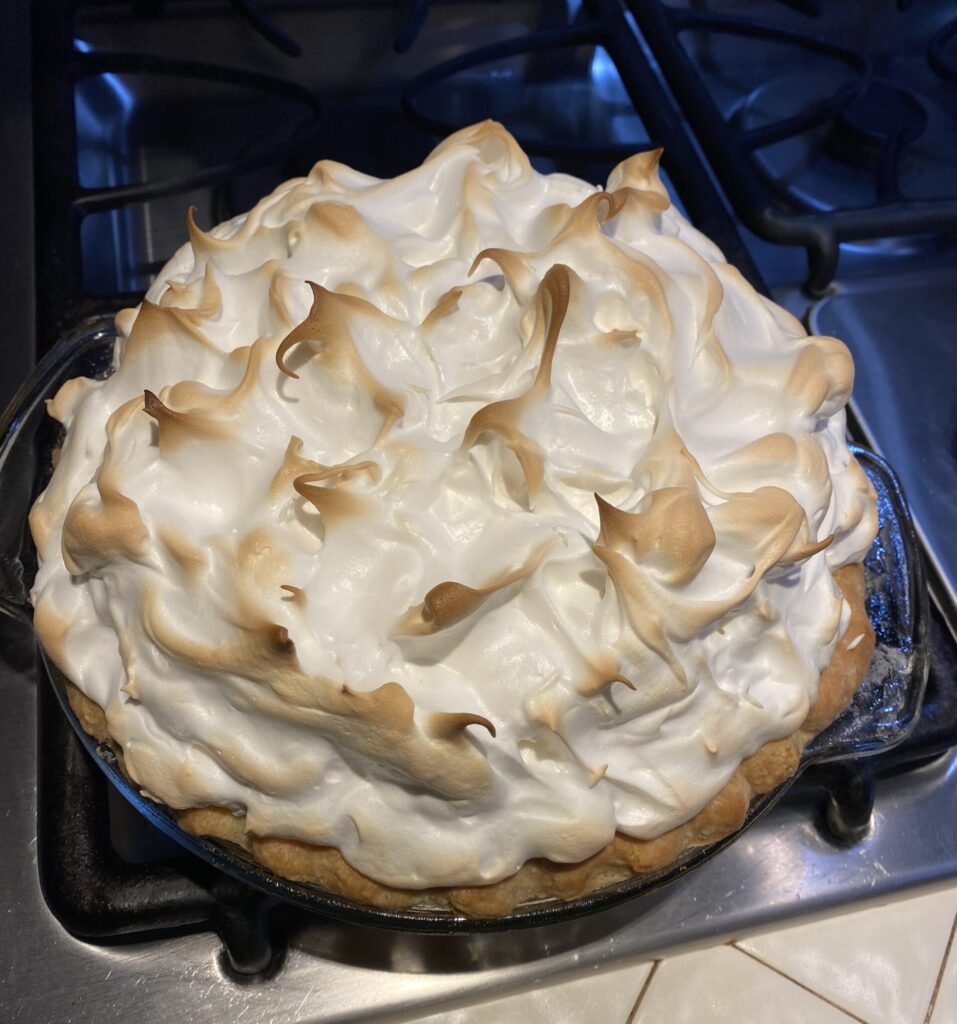
As a professional pie baker, not much could be more disappointing than to have a great pie filling, perfect crust — and then the meringue falls, shrinks or weeps. Or all of the above!
There are many reasons that a meringue can become a problem for even the most serious baker. I can tell you, those egg whites are picky little buggers that demand your care and will let you know what you did wrong. After the fact.
So the best way to get comfortable with using meringues is to find a recipe that is basic, fairly easy, tasty and consistently beautiful. We can talk about the ephemeral lightness of a French meringue. But I’ll go for the sturdier and more reliable Italian Meringue as my every-day choice.
What’s the difference?
I bet your mom or grandma used a French meringue recipe, which requires beating the egg whites with a little stabilizer (usually cream of tartar) a little flavoring and sugar until light and fairly stiff. Then the meringue is spread over a hot pie filling and baked so the egg whites are cooked and the meringue is browned.
When you get it right, the French meringue is a thing of beauty. Light, fluffy, a very slight crust that just dissolves in your mouth into an airy cloud of just-enough sweetness. Ahh!
But it’s easy to overcook this meringue. You can put it into too hot an oven, simply cook it for too long, not cook it long enough, cool it too quickly — the list of errors is long.
In rides the Italian meringue like a hero in your favorite western. Don’t stress out about your meringue, my friend, help is here!
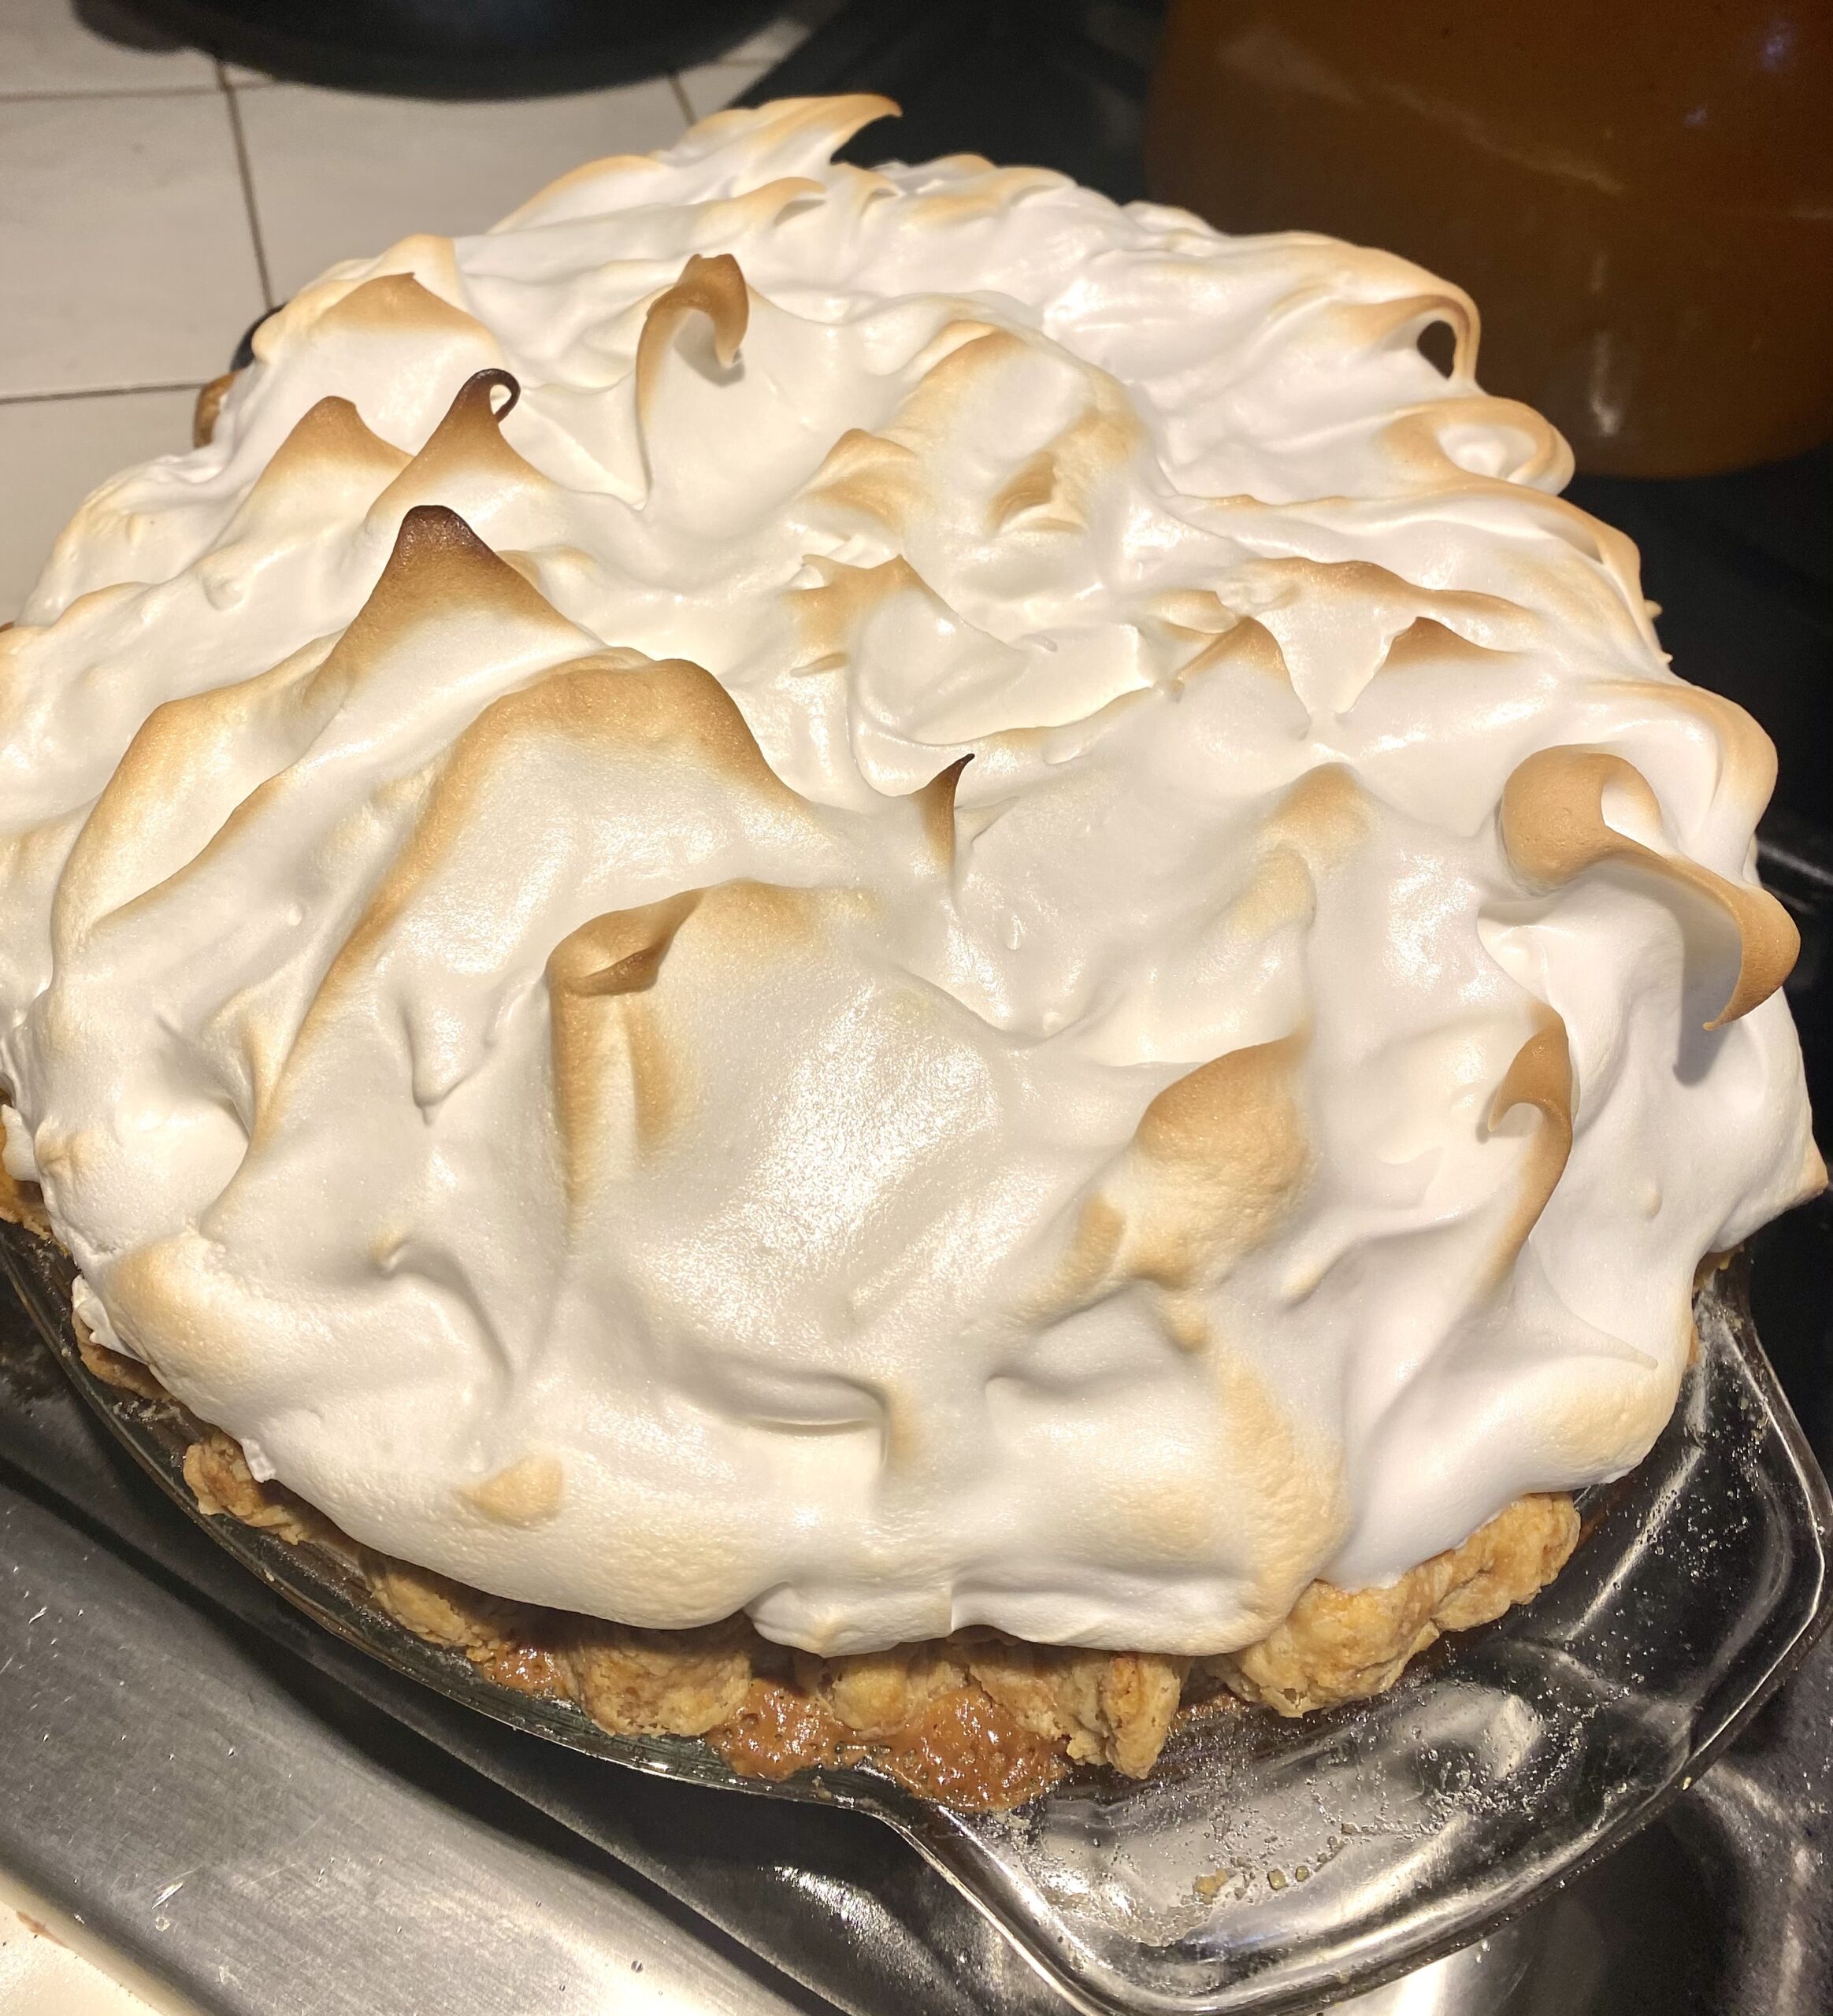
Italian meringues are cooked before you even spread them onto your pie. So, your only worry is in not over-cooking this meringue once you endeavor to brown it. Go for a light brown color after a short time in a hot oven. Wonderful!
Meringue that’s Hard to Mess Up!

Ingredients
Instructions
-
In a mixing bowl with whisk attachment, combine egg whites, cream of tartar and vanilla
-
Whip egg whites until they form firm (but not stiff) peaks when you lift the whisk. (The tops of the peaks should stand up straight but still seem soft. Don't overbeat: egg whites should not look dry)
-
In a small saucepan, combine the sugar and water. Heat over medium high flame to boiling.
-
Boil sugar water for 3 - 4 minutes, or until it thickens to become a thin syrupy consistency. If you are using a candy thermometer, boil until the liquid reaches 230 degrees F.
-
Return to the egg whites and resume whipping on medium high speed.
-
Pour the hot syrup, in a steady stream, into the egg whites. Be careful not to splash against the whisk, you don't want the splash to cause burns. As soon as you have poured all of the hot sugar into the egg whites increase mixer speed to high.
-
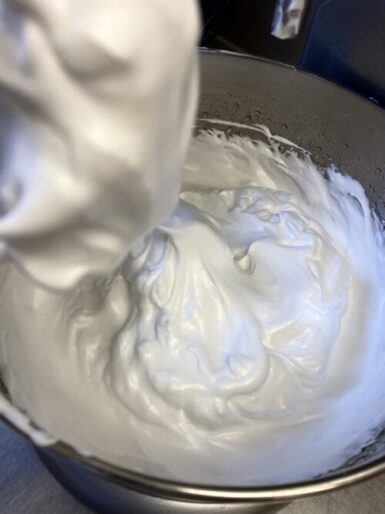
Beat on high until the bowl turns cooler (you can hold your hand against it comfortably) and looks thick and glossy. The meringue will have body and should form firm peaks when tested. At this point it should be easily spreadable.
-
Immediately spread meringue over your pie, being careful to eliminate any gaps and to cover the edges of the pie crust. (Meringues are liable to shrink a bit; make sure the edges of your meringue give the pie crust a little "hug" so it can stay put if it shrinks a bit.)
-
Place in 425° F oven for 4 to 6 minutes, turning if necessary for even browning. Do not over-brown your meringue! This meringue is already cooked from the heat of the syrup, so you are simply adding decorative interest when you brown. Use a light touch and aim for a light, golden brown color. Over cooking meringue leads to weeping and shrinkage. (If you have a chef's torch, this is a perfect use. Be careful to hold the torch far enough away from the meringue to brown it slowly.)
-
Remove from oven and allow to cool to room temperature.
-
When cooled, store your pie in a large cake box or container with enough clearance that it does not touch the meringue. Alternatively, try placing long toothpicks strategically around the meringue. Cover loosely with plastic wrap and refrigerate. The point is to give the pie an air-protective covering that can go into the refrigerator.


