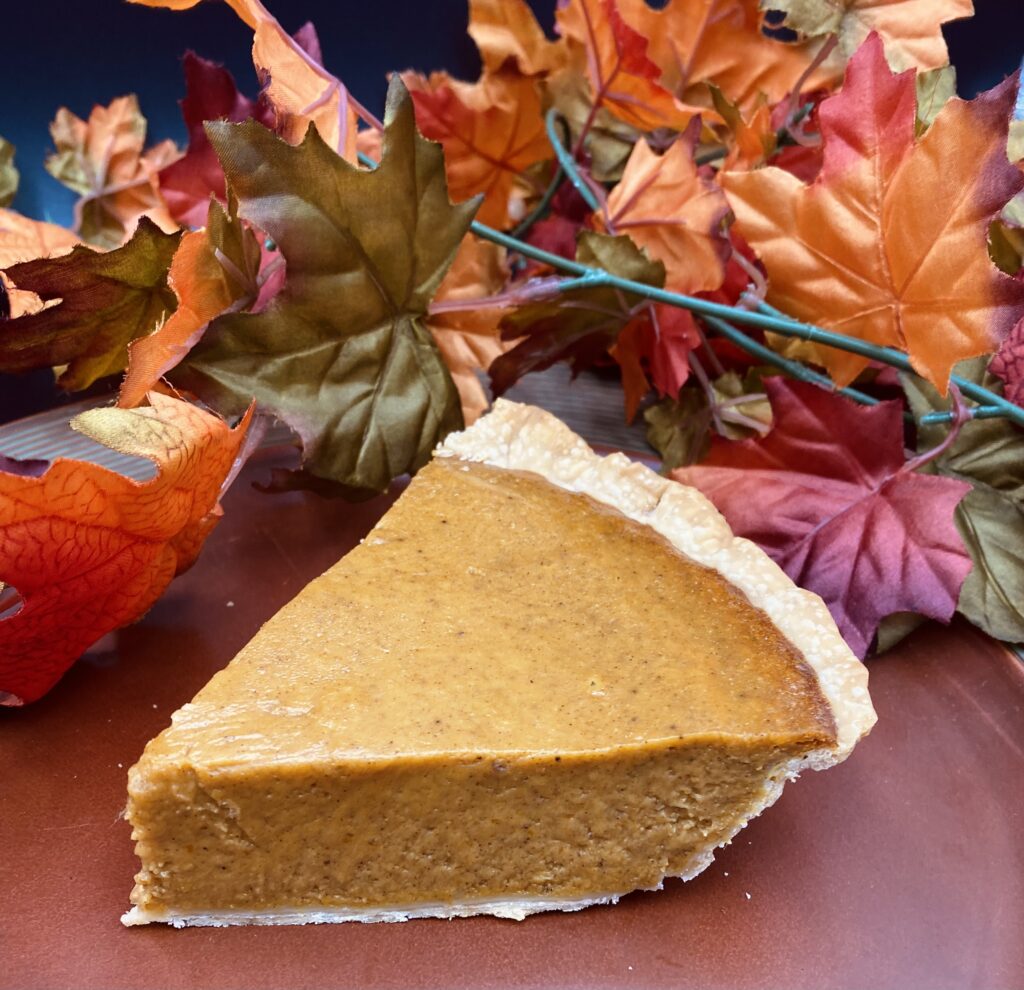
As a southern girl, I didn’t grow up on Pumpkin Pie. The few versions that I tasted were either store bought or baked by someone who brought it to a dinner as an obligatory classic dessert.
When I started playing around with recipes most of them were either way too spicy – usually too much ginger for me – or bland and flavorless. I needed more control over the spices going into my pie so I began making my own spice mixture, which I call Autumn Spice Blend because it is so versatile for fall baking. You can do this too. Use mine or adjust the proportions for yourself.
I set out to make myself happy. On the way, I hit upon a Pumpkin Pie recipe that my customers raved over. I agree with them; this is a great tasting Pumpkin Pie, and I hope you will feel the same way!
Some notes on baking a beautiful and delicious Pumpkin Pie:
- Most Pumpkin Pies crack because they have been overcooked. After many seasons of slamming out Pumpkin Pies for Thanksgiving I have learned the exact look of a perfectly done Pumpkin Pie as it comes out of the oven. This is an acquired skill. I will walk you through it, but know that you will remove a Pumpkin Pie from the oven that does not look done. It will continue cooking as it sits and cools slowly under a specific environment (see note #3).
- The cracking occurs because of the whole eggs in your recipe. Specifically, the egg whites are a wonderful binder for the pie as they cook but can stiffen too much for a custardy creation like Pumpkin Pie. I have reduced the egg whites in this recipe to afford a more forgiving recipe. Egg yolks, which are fatty and rich, do not cause cracking by themselves. I have seen Pumpkin Pie recipes that tout absolutely no cracking but they accomplish this by eliminating eggs. But if I’m going to eat a Pumpkin Pie I want to enjoy every rich, smooth flavorful forkful.
- Cooling your Pumpkin Pie too quickly can also cause the dreaded cracking and/or cause the edges of the Pumpkin Pie to slightly pull away from the crust, making for an unsightly presentation. The Pumpkin Pie will taste just fine but after you have put that much work into it, why not keep it beautiful with just a little extra care? Your Pumpkin Pie needs to cool slowly. All of the ingredients that you just baked to a new physical composition need time to collect themselves to be presentable. Allow them to rest! When you take your Pumpkin Pie out of the oven to cool, keep it in a warm spot of the kitchen for 1/2 hour to 1 hour. Do not put it in the refrigerator to cool, or anywhere that is less than the ambient temperature in your house.
Pumpkin Pie
Rich and flavorful Pumpkin Pie that's a breeze to make and always beautiful.

Pumpkin Pie Filling
Instructions
-
Blind Bake the pie crust 1/2 hour ahead of time or, in a pinch, while you are assembling the filling. (The filling can pause while the crust is cooking.)
Turn the oven up to 375 ° F
-
Combine the whole egg and egg yolks in a small bowl.
-
In a separate bowl combine the white sugar, light brown sugar, flour and spices until evenly distributed.
-
Stir the eggs, butter and pumpkin into the sugar mixture and beat just enough to combine.
-
Stir in the evaporated milk.
-
Pour into prepared pie pastry shell and place pie on lower rack of oven for 10 minutes.
-
Reduce oven heat to 350 ° and bake for 30 to 45 minutes, or until side begin to pouf but center 3" still looks raw.
Remove from oven immediately and let cool, slowly, in a moderately warm spot, for 1/2 to 1 hour.
Note
Blind baked pie crusts are usually recommended when you are baking a pie that begins as any thickness of liquid. This ensures that you will have a nice crust that is not soggy or undercooked. If you are in a hurry and must use an unbaked pie crust, be sure to start the pie on the bottom rack of the oven for a good 15 minutes.


